Goal
The steps in this tutorial will teach you how to take a business card like this:

and create a sheet of business cards that you can print and trim like this:

Along the way, you'll learn some tricks professional printers use to make their business cards look perfect and save time.
1: Download the business card.
Click the business card below to download a JPG image of the business card. Some browsers may show you the image again instead of downloading it. In that case, right-click the image and choose Save image as....
2: Open PDF Snake.
Click the PDF Snake logo below to open PDF Snake in a new window. Keep this tutorial window and the PDF Snake window open and side by side.
PDF Snake is a tool for imposing. Said another way, PDF Snake imposes pages. "Imposing" means arranging pages in a format that's better for printing. The result is better for printing because it reduces paper waste and is easier to cut to size.
3: Open the business card with PDF Snake.
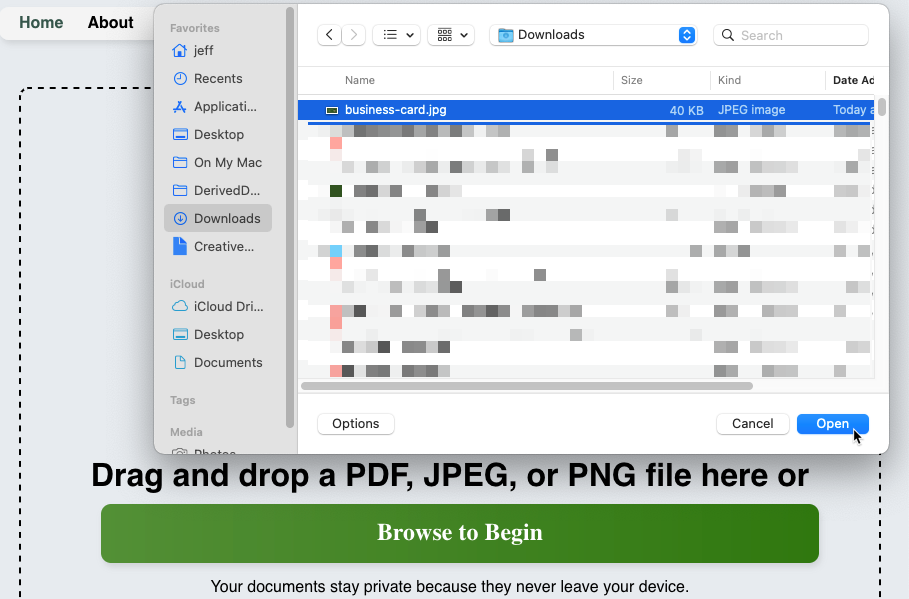
In the PDF Snake window, click Browse to Begin, then choose the JPG image you downloaded and click Open.
Your PDF Snake window will look similar to this:
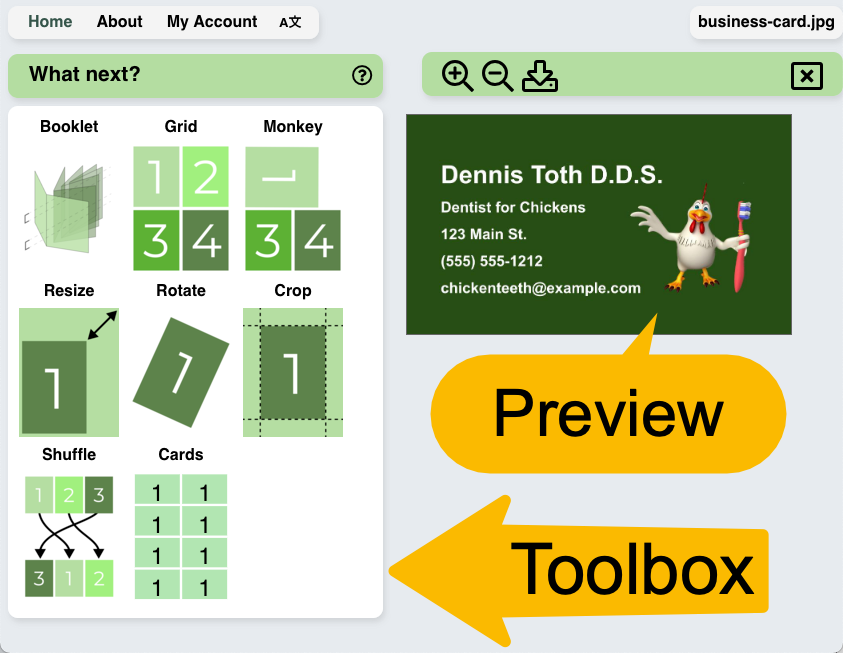
On the left side is the toolbox. This is where we
choose imposing tools and settings.
On the right side is the preview.
PDF Snake always displays a preview
of what the document will look like before you download it. PDF Snake
constantly refreshes the preview as you add imposing steps and change settings.
4: Resize the business card.
In the U.S., the standard size for a business card is 3.5 inches wide by 2 inches tall. What are the dimensions of the JPG image? JPG images don't always carry information about their dimensions, and the JPG's dimensions may be different from what we need. So let's resize the business card into standard dimensions.
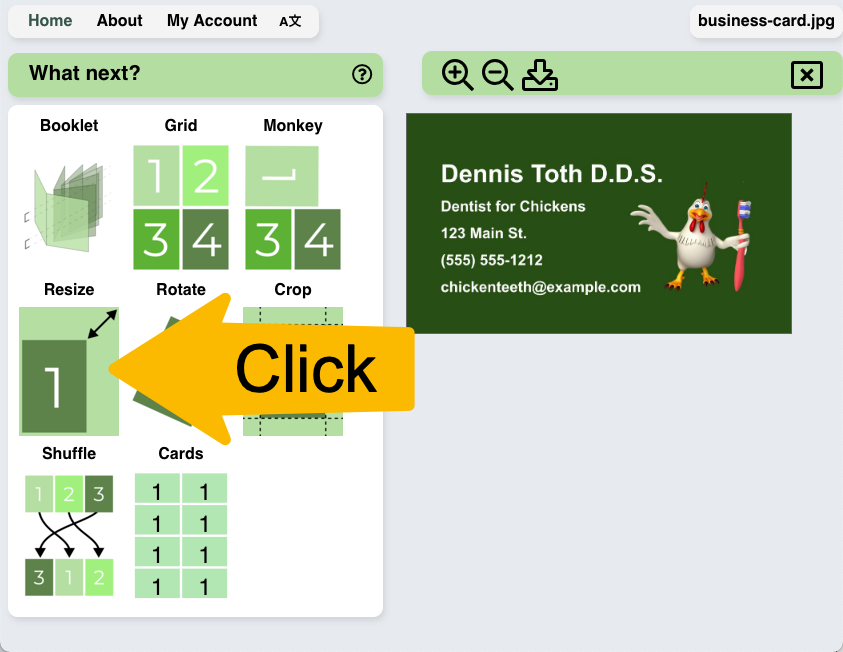
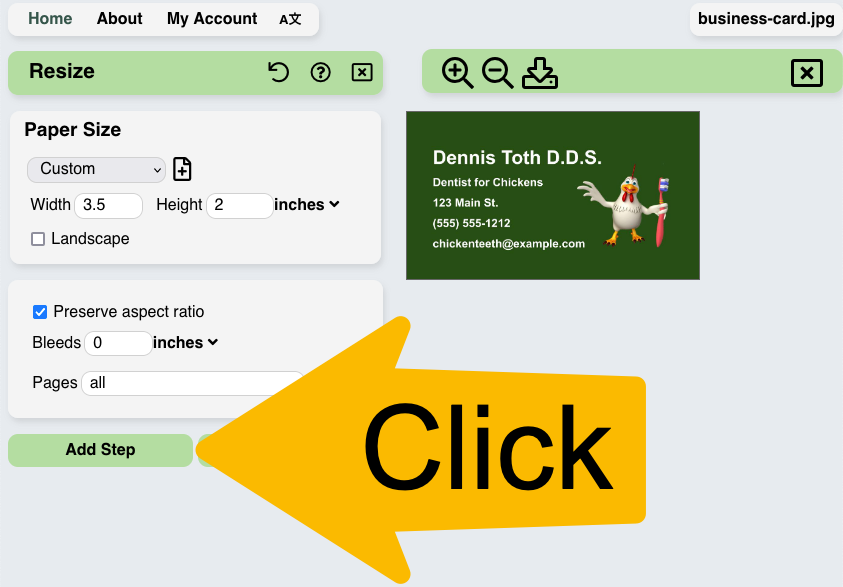
In the toolbox, click Resize to begin resizing the business card.
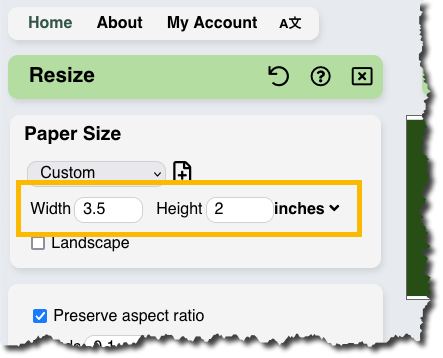
Set the Width to 3.5 inches and set the Height to 2 inches. Leave the rest of the settings unchanged. You will see the business card will shrink to the smaller dimensions. Click the magnifying glasses to zoom in or out.
5: Impose many business cards onto one page.
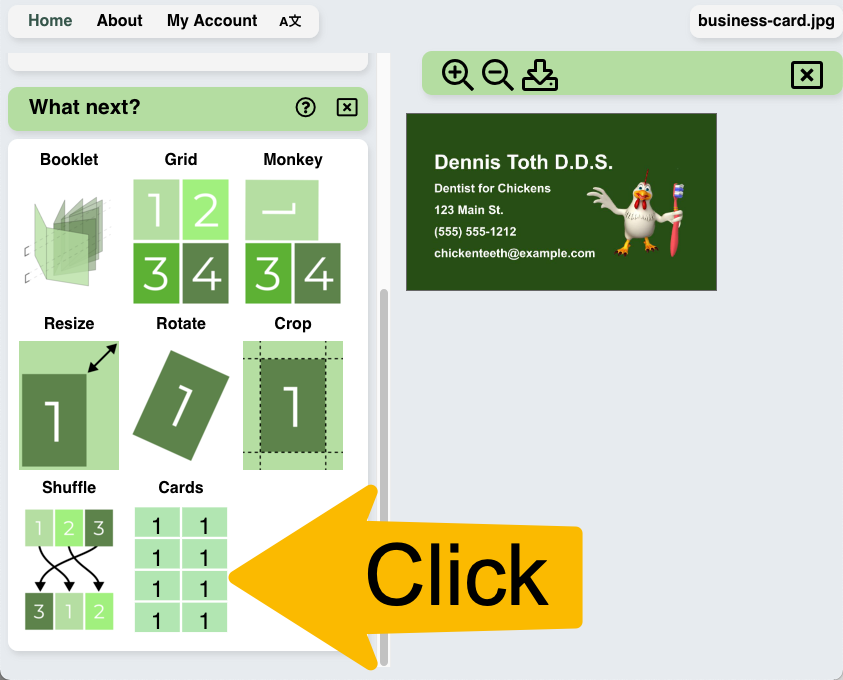
In the toolbox, click Add Step,
then click Cards.
PDF Snake now displays a page with 10 business cards:
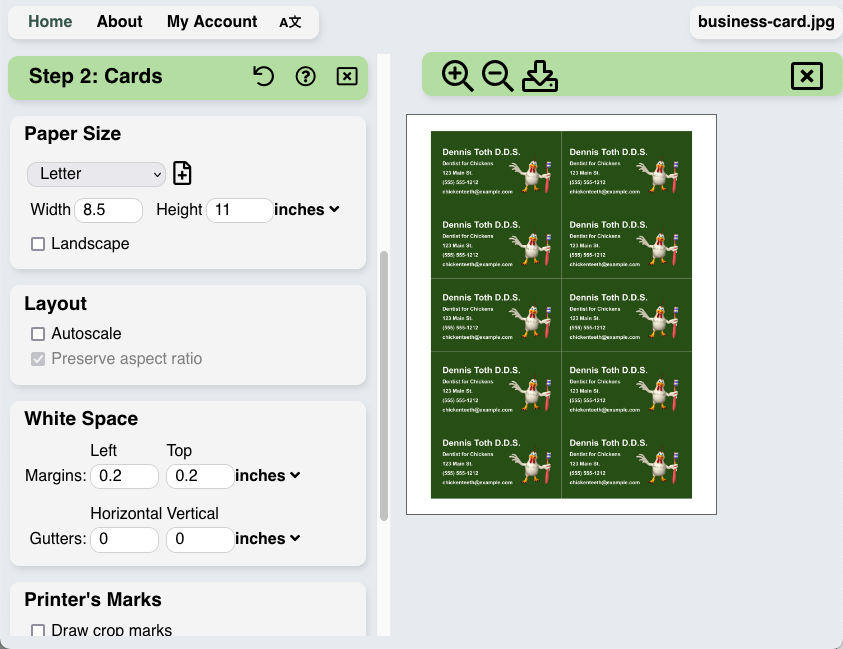
The page looks nearly complete. However, if you printed this document now, it would be hard to know exactly where to cut the paper to get uniformly sized business cards. To add guide lines showing where to cut, check the box Draw crop marks.

6: Add bleeds.
Let's zoom in on the crop marks:

Imagine we cut the paper along the crop marks. If we cut a hair inside
the crop mark, then the business card would be too small. If we cut a hair
outside the crop marks, then the business card would have an unintended
white border and look unprofessional, like this:

Professional printers solve this problem by adding bleeds to their documents. Bleeds prevent the white border by extending the color a little beyond the cut line. In other words, we want the crop marks to look like this:

Documents created with professional page design tools like Adobe InDesign embed bleed information in the document, so PDF Snake will correctly impose them. However, we started with a simple JPG, so we need to tell PDF Snake to add bleeds.
In the toolbox, scroll back up to Step 1: Resize and set Bleeds to 0.1 inches.
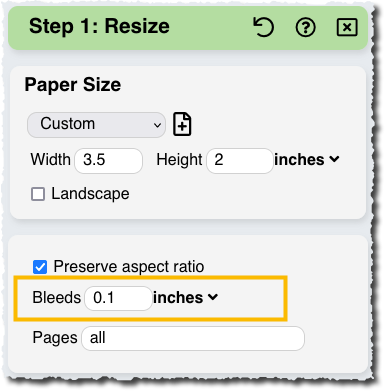
This tells PDF Snake to resize the business card a little bit larger so it expands over the cut lines. In this case, it tells PDF Snake to resize the card to be 3.7 inches by 2.2 inches, but to draw crop marks so the final trimmed product is 3.5 inches by 2 inches.
Leave Pull bleed information from document selected in Step 2. This tells Step 2 to use the bleed information we provided in Step 1.
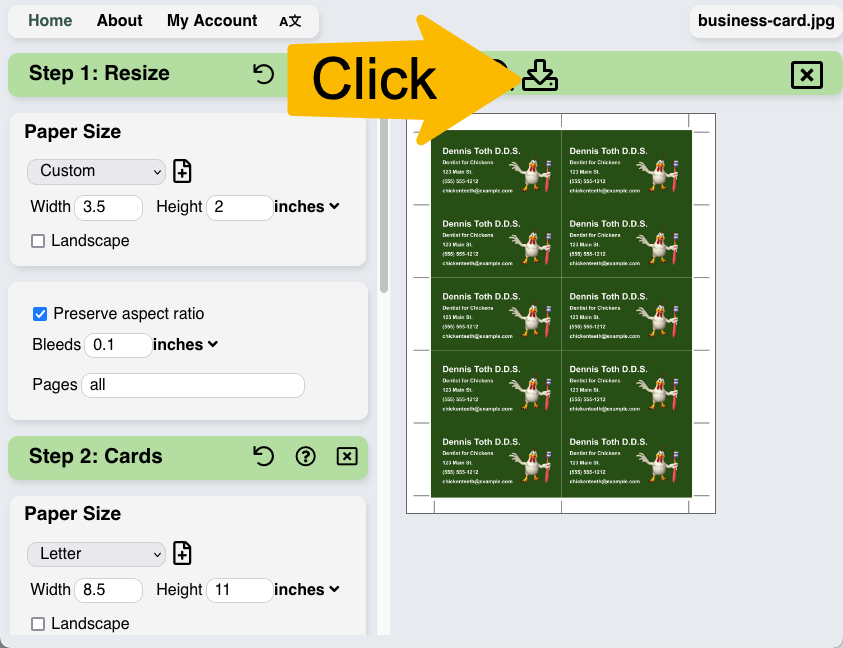
When the page looks correct, click the download icon to download the page as a PDF file.
We needed to add bleeds because the business card had a color background that extended right to the edge of the paper. If a business card has a white background, then it's not necessary to add bleeds.
Double-click the downloaded PDF file and send it to your printer.
7: Record these steps for easy reuse.
Imagine we frequently print business cards from JPGs. It sure would be convenient for PDF Snake to remember all these settings for us so we can impose the next set of business cards with less fuss, and PDF Snake can do exactly that.
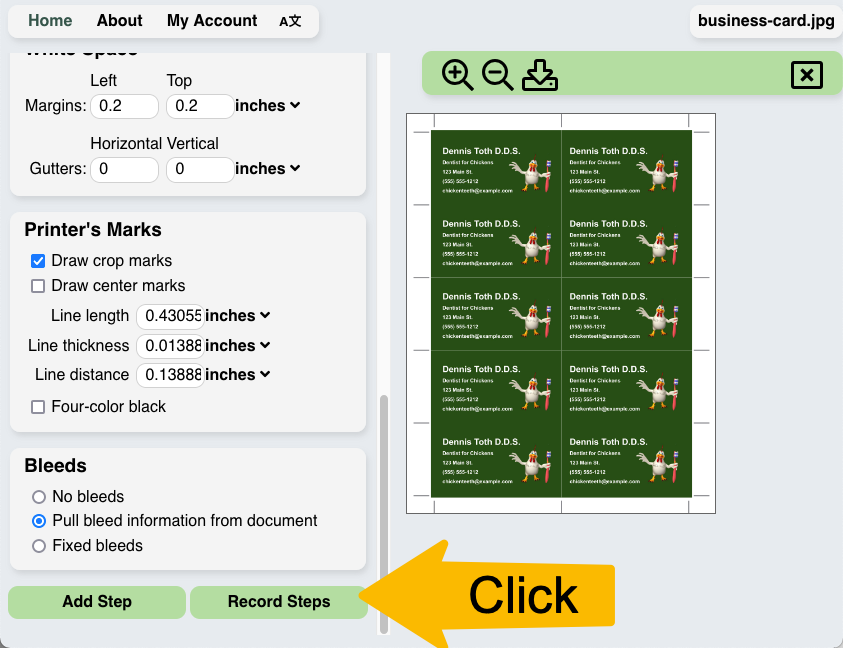
Let's create a new tool in PDF Snake's toolbox. In the bottom of the toolbox, click Record Steps.
Enter "JPG business cards" into the text box and click Save.

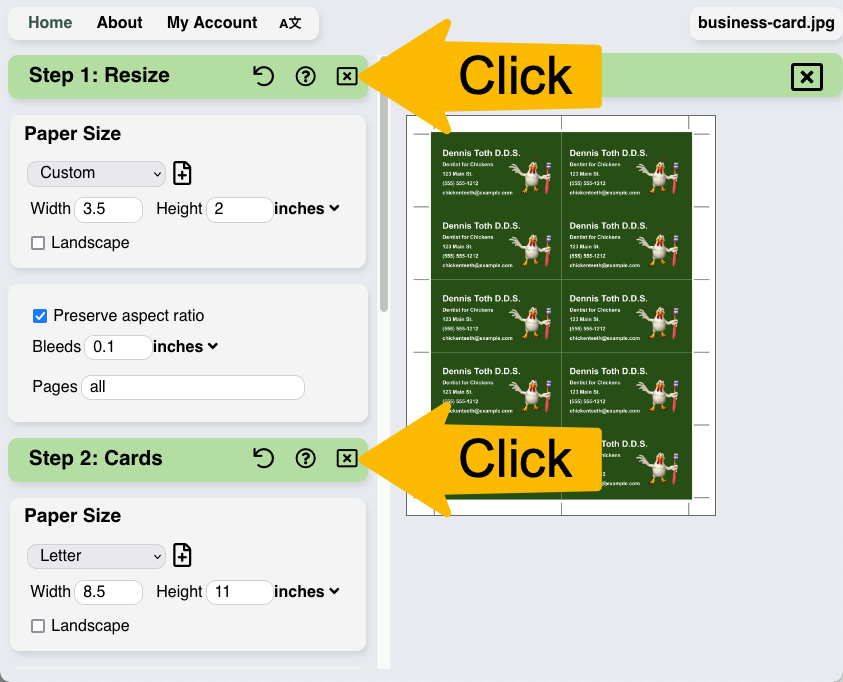
To see the new tool in the toolbox, close Step 2: Cards and close Step 1: Resize.
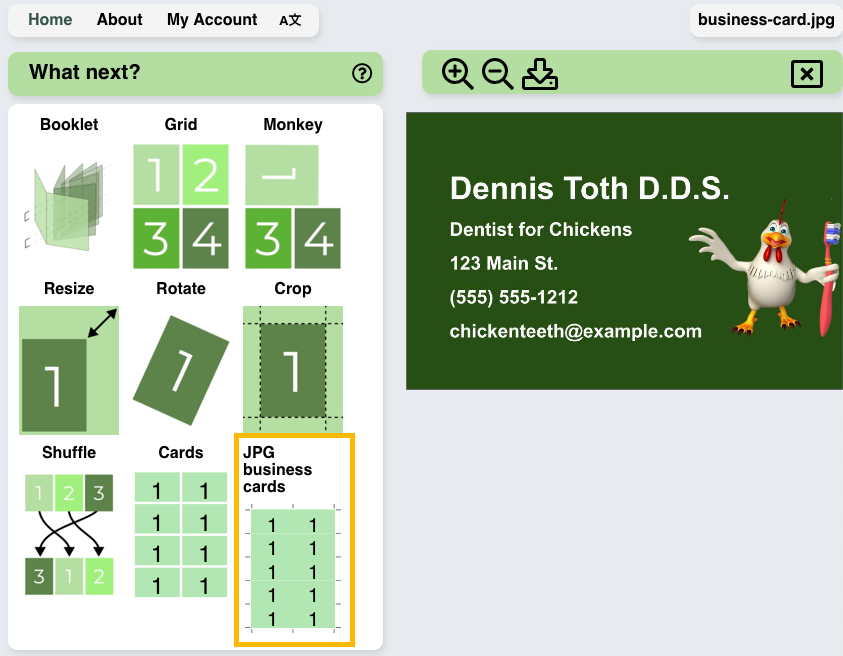
In the bottom of the toolbox, you will see the JPG business cards imposing tool. It's now a tool in your toolbox like any other PDF Snake tool. One click will restore the settings.
Drag JPG business cards to the top of the toolbox if you think you will use it often.
Drag JPG business cards to the trash at the bottom of the toolbox when you no longer need it.
Wrap Up
We learned about bleeds and crop marks, and how to combine PDF Snake's tools to produce a sheet of business cards that's ready for the printer and the cutting board.
PDF Snake can do more complex layouts than business cards. Grid is a more sophisticated version of the Cards tool. Monkey rotates cards to find the optimal layout. Booklet rearranges pages to form a folded booklet like a playbill or church bulletin.
Next
Try PDF Snake for free.