Introduction
PDF Snake combines powerful imposing tools with an easy-to-use user interface. But what if you need to impose documents from your web application?
Programmers can impose documents by calling the PDF Snake Web API from any internet-connected computer. You are billed for the bytes you transfer to and from the API. New users receive a few megabytes of free transfer to experiment with. After that, additional bytes can be purchased for as little as $1.00 per gigabyte.
Beginning October 1st, 2025, there will be a minimum deduction of 4 megabytes for every successful imposition. 4 megabytes cost less than 1 US cent.
Goal
The steps in this tutorial will teach you how impose documents using the PDF Web API.
To impose a document with the PDF Web API, you'll need:
- a PDF, JPEG, or PNG document
- a .json file containing imposition steps
- an API Key
- to POST the 3 ingredients above to the PDF Snake Web API.
1. Collect a document.
Find a PDF, JPEG, or PNG document to work with. If you don't have one, try searching the Internet for "Router Manual PDF" and downloading a document.
2. Impose a document with the PDFSnake.app.
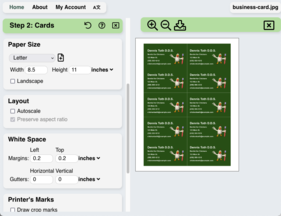
Impose a document using the PDF Snake Website. Choose the imposing options that you will later upload to the PDF Snake Web API.
When you have imposed the document with the options you wish, leave the desired output showing in PDF Snake's preview.
3: Download the imposing steps.
Click the gear icon in the toolbar:

Click Show button to export steps to CLI.
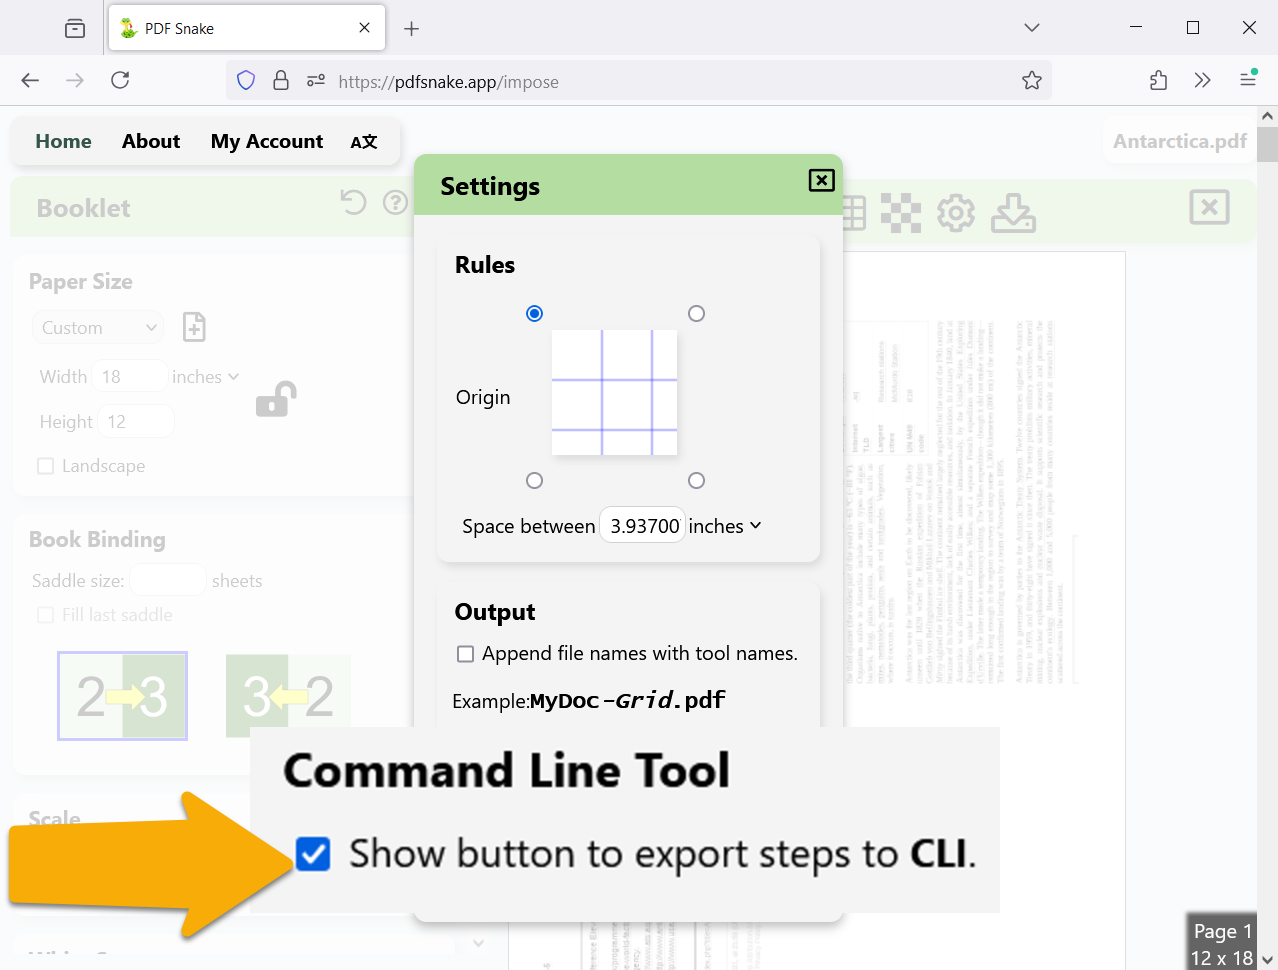
Close the settings, scroll to the bottom of the toolbox, and click Export steps to CLI . PDF Snake downloads a .json file.
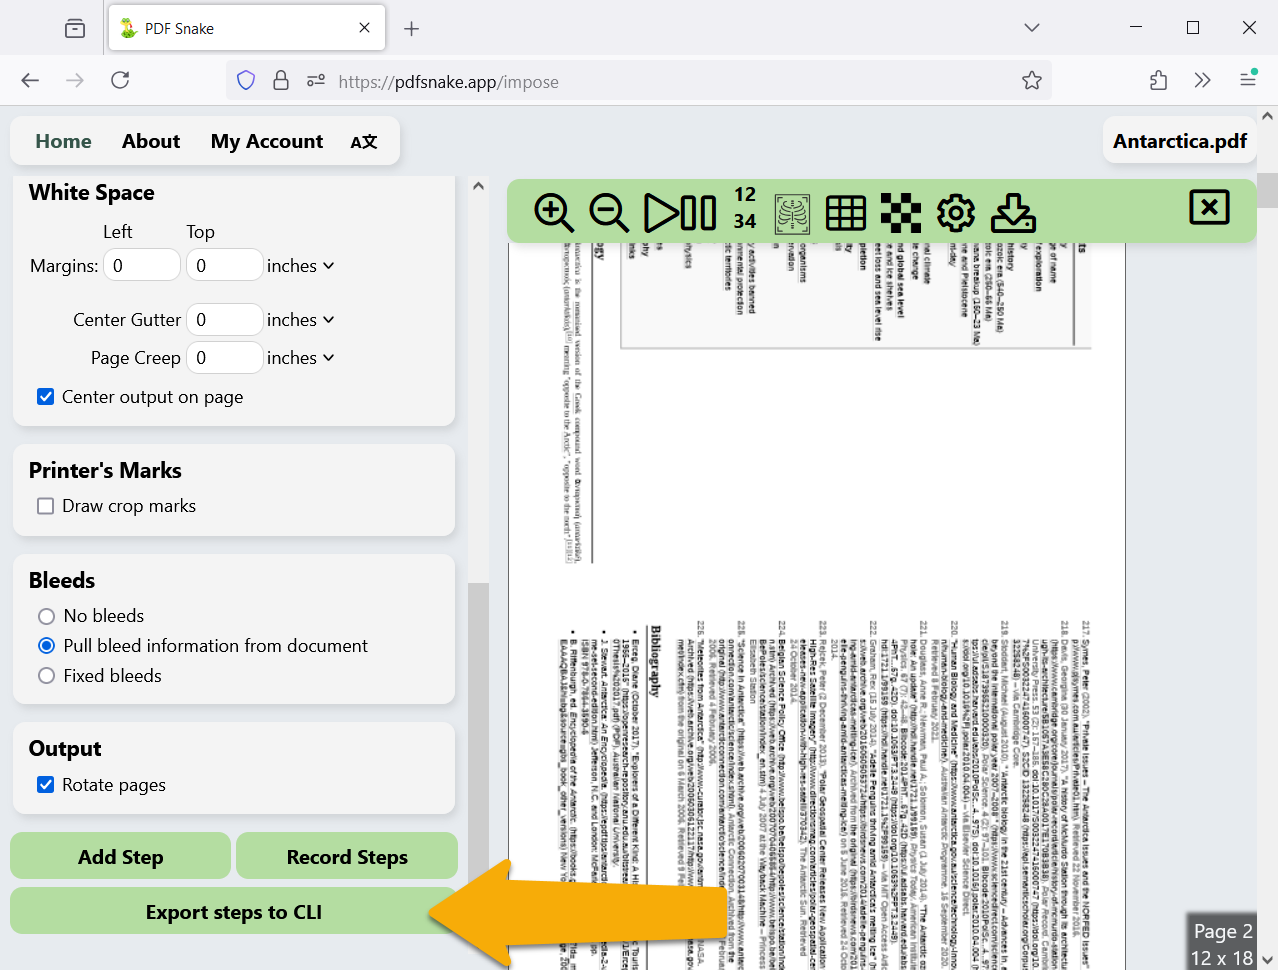
Keep this .json file around because you'll upload it to the API later.
4: Create an API Key.
Calling the API requires an API key. Your API keys must be kept secret. Otherwise, a bad actor with your API key can drain your byte balance to zero.
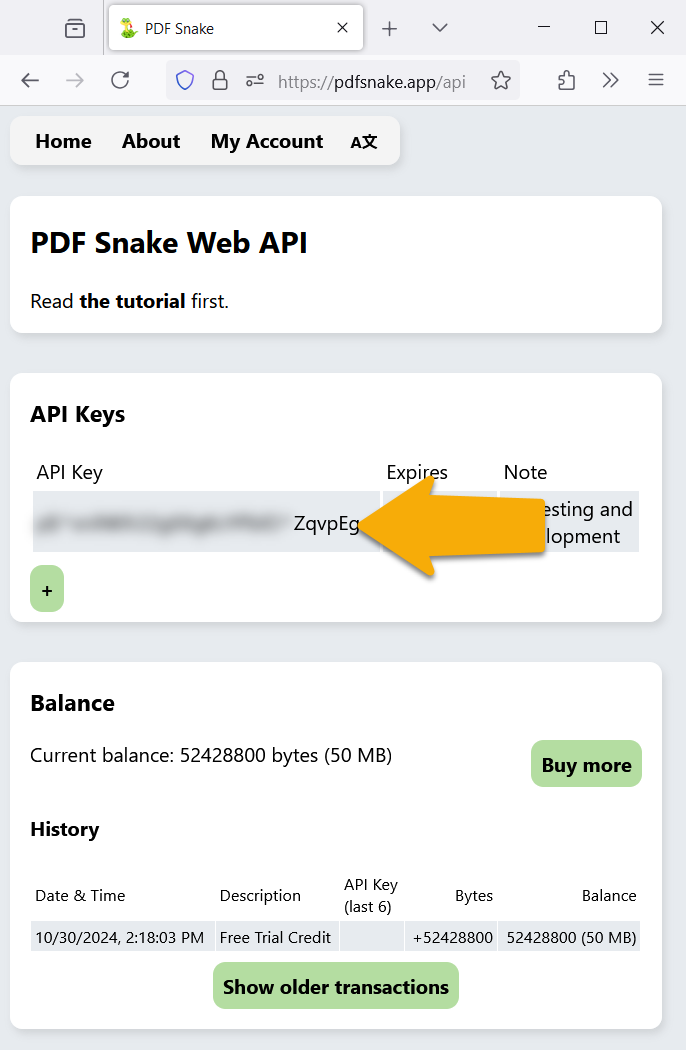
Visit pdfsnake.app/api, sign in, and click Create API Key
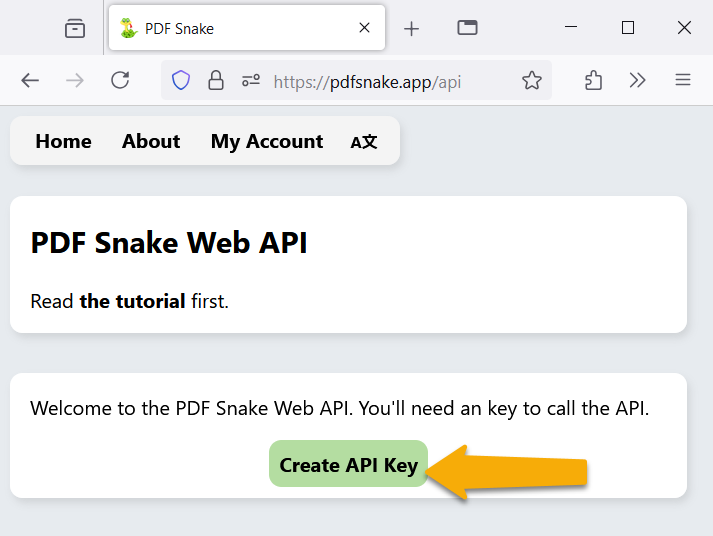
After creating your API key, your byte balance will grow to a few megabytes. Use these free bytes to experiment with the API and integrate it with your system.
Click the API Key to copy it to your clipboard.
5: Invoke the PDF Snake Web API.
Visit api2.pdfsnake.app and fill out the form with your API key and your files.
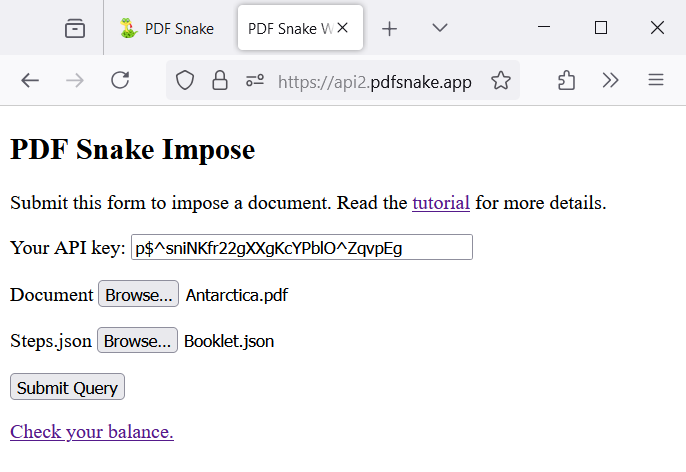
Click Submit. PDF Snake imposes the document and your browser downloads the result.
6: Customize the imposing options.
Open the imposing parameters .json file downloaded from PDF Snake in step 3 with your favorite text editor.
Change some parameters and save the file. All measurements in the .json file are in points. 1 inch is 72 points. 254 millimeters are 720 points.
Revisit api2.pdfsnake.app and fill out the form with your newly changed imposition steps.
7: Update your software to invoke PDF Snake.
To automate PDF Snake, write programs that generate or edit .json files like the one you downloaded. Then invoke the API. The API is defined on swaggerhub.
8: Advanced techniques.
Add the header Accept: application/zip to your POST request and PDF Snake will respond with a zip file containing all the files generated by your imposition. This is useful in two cases:
- You're using the Split tool to create multiple PDF files.
- You need a manifest file that correlates the source pages with each output page.
Add additional files to your POST request for the Overlay and Insert Pages tools.
Trouble shooting
Not working as expected? Send us an e-mail and we'll try to help.

